| Melt & Pour Soap Instructions |  |
|
An instruction guide for melt and pour soap bases. Creating quality soap products is not difficult especially with our melt and pour soap bases to better simplify the soap making process. We recommend the following items to get you started: Melt and Pour Soap Base, Compatible Microwave Safe Soap Making Pourer/Pot, Compatible Scale, Compatible Soap Mold, Soap Cutting Tool, Thermometer, Small Glass or Metal Container, Rubbing Alcohol in a Spray Bottle, Latex Gloves, and a Microwave. |
| Before starting: Be sure to cover your work area to protect from spills. It is much easier to have all your items clean, dry and ready before beginning. Sanitizing your tools and work area is recommended.. Now you are ready to begin the Melt and Pour Soap making process! |
| Step 1: Measure Out & Dice/Cut Your Soap Base |
|
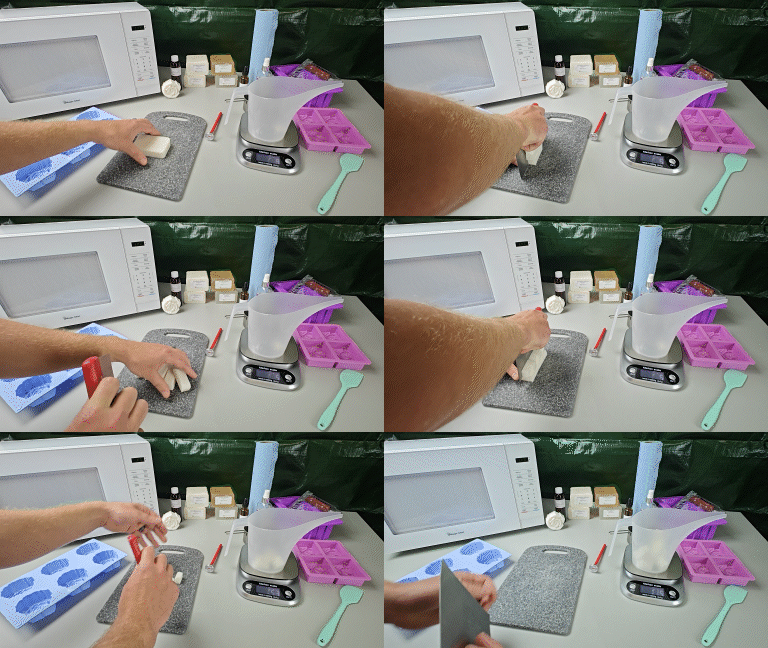
Start by determining the amount of materials needed and measuring them by weight using a compatible scale. We recommend to measure in grams for easy math and measuring. If it is your first time we recommend to start by making one single soap bar from a mold. Lets assume we are starting with 1/4 lb. of soap base for your first pour (114 grams). Cut the soap base into small cubes about 1 inch in diameter in all directions for easier melting process. Place these cubes into your Microwave Safe Soap Pouring Pitcher. |
|
| Step 2: Measure Out & Prepare Your Fragrance Oil |
|
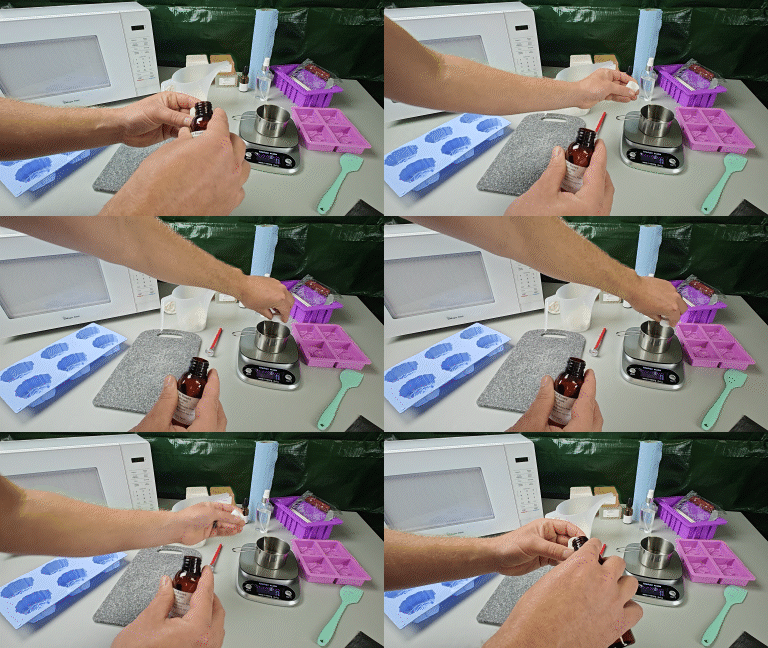
Measure your fragrance into a separate small glass or metal container. We recommend 2-3% for the fragrance load. Assuming we went with a 1/4 lb. for the soap (114 grams), we recommend to measure out a quick estimated 3% load of 3 grams of fragrance oil (114 x .03 and then rounded up). Although not a true percent it does end up being around 2.5% for the load. (If you would like to calculate true exact loads by percent we included the formula FOLoad(Base+X)=X (More at the bottom of this document and examples provided). For easy estimated fragrance loads just multiply the base by the percent fragrance load.) Be sure to check the fragrance's IFRA sheet to make sure your fragrance is compatible with soap usages. The necessary information for soap making should located under Category 9. Most of our Bath and Body Safe fragrances are compatible with soap making. |
|
| Step 3: Melt The Soap Base |
|
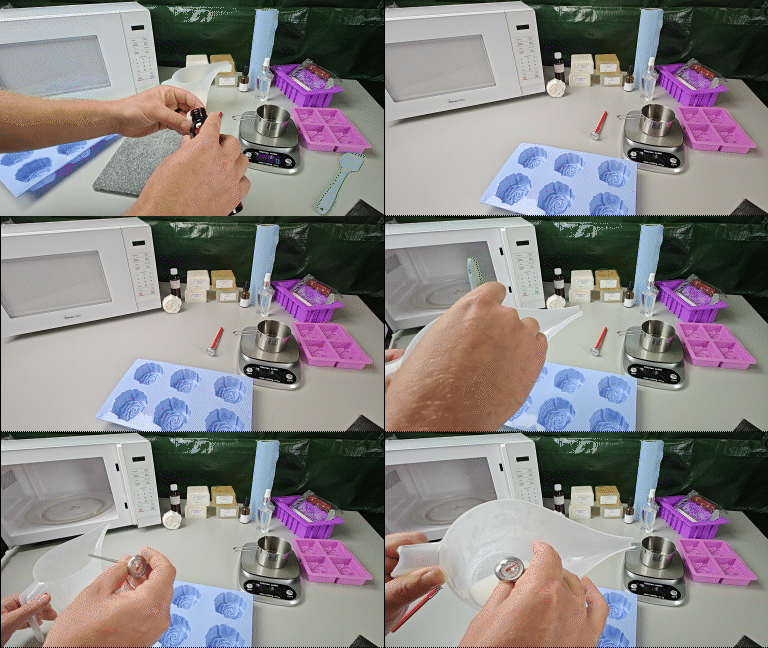
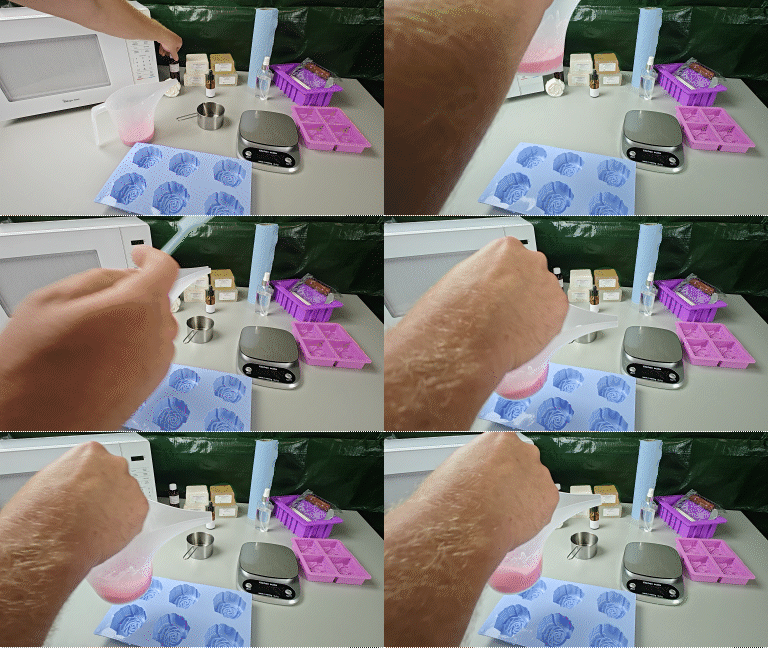
Put the Microwave Safe Soap Pouring Pitcher with the Diced/Chopped Soap Base into the microwave. Heat for 20 seconds and continue to monitor the melting process. (Microwaves that run at high wattages may melt your soap base quicker, the inverse may be true for microwaves at low wattages. You will begin to learn how quick your microwave melts your soap based by the volume of soap base from more experience). Do not let the soap bubble, foam or get too hot. It is important to keep the soap temperature under 160F as the soap will take on unwanted rubber properties if it is overheated. Take care as the Soap Pitcher and Soap may be hot and remove it from the microwave safely. Wear protective equipment if necessary. Gently stir the soap to help it continue it's melting process as small clumps may still be present. If clumps remain after stirring reheat the Soap Base at 5-10 second intervals and stir again until it is completely melted. |
|
| Step 4: Add Dye (Optional) |
|
If you wish to add color dye and have compatible soap dye you may add this to your soap as soon as you get it to a full liquid. We recommend 1-2 drops and you may add more until you get the color desired. Unlike candles, the soap color does not change much during the cooling and curing process. The color that you see while crafting is usually the color you will end up with. Be sure to stir the dye thoroughly into your soap. If you feel you are having trouble stirring you may reheat your soap in the microwave for another 5-10 seconds before attempting to stir again, but do remember to always keep the temperature below 160F. |
|
| Step 5: Add Fragrance |
|
We recommend to have the soap at 140-150F before adding fragrance to help ensure that the fragrance can be mixed thoroughly and the soap will be at a good pour temperature by the time the oil is fully mixed. If your soap is colder than 140F we recommend to heat this up again in the microwave for 5-10 seconds while also making sure the temperature stays under 160F. Now that we have double checked our temperature you may add your premeasured fragrance oil. Be sure to mix thoroughly. |
|
| Step 6: Pour |
|
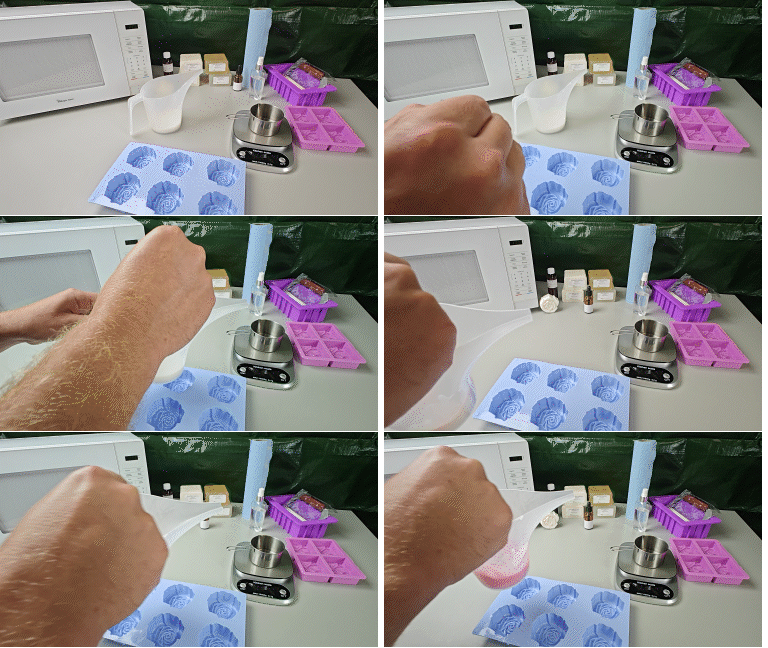
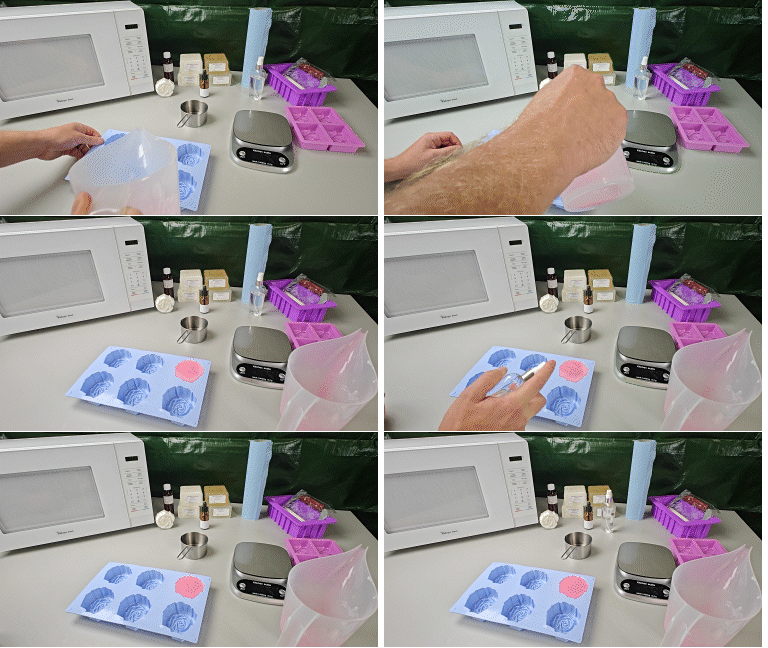
Now that the fragrance has been thoroughly mixed, we are ready to pour. Slowly pour your soap mixture into your soap mold. It is important to pour slowly to help minimize bubbles. Be sure to fully fill the soap mold. If some bubbles have formed, that is okay, but these will need to be handled quickly. Spray alcohol directly on top of the bubbles. It is okay to spray more than once. Do keep in mind if you spray too much it may make the soap foam. |
|
| Step 7: Cool and Cure |
|
Allow the soap to cool in its mold. After 30 minutes it is recommended to cover the soap mold with a covering. Plastic wrap works just fine. It is recommended to cure for 24 hours before attempting to remove the soap, but you may be able to remove the soap sooner. Now is a good time to clean up your utensils and equipment. Scrubbing with water is usually enough to ensure your equipment is ready to go for your next soap project. Large amounts of left over material may be saved. |
| Step 8: Remove the Soap from the Mold |
|
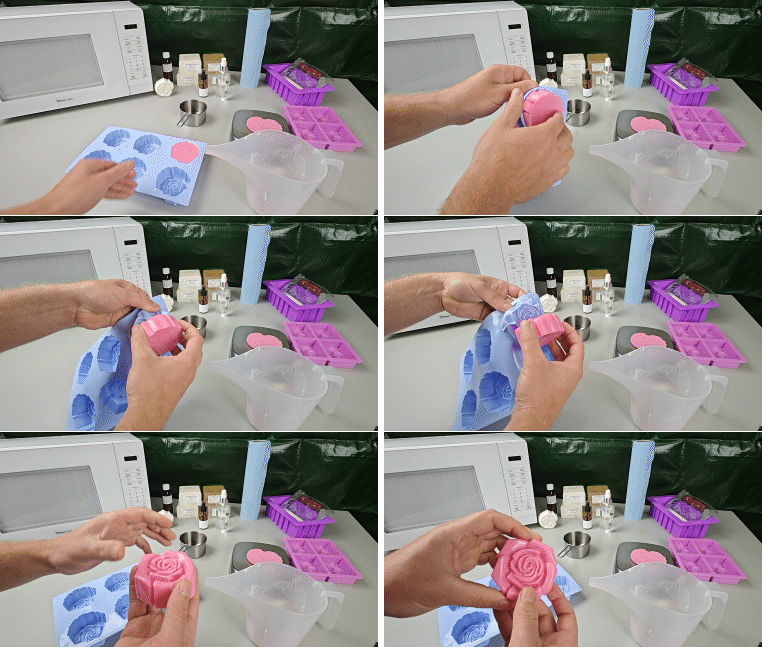
After 24 hours the soap should easily be able to peeled from the mold. Gently push the soap out of the mold while peeling the sides. If the soap is not coming out easily we recommend to put the mold into the refrigerator for 30 minutes. This should create extra shrink and allow the soap to be removed easier. It is recommended to wrap or package the soap as it will absorb moisture. Putting this into a sealable package will help ensure it stays at a good quality for quite awhile. Including labeling and ingredients is recommended if not required. |
|
|
Congratulations! You have successfully made your soap |
| Soap Maker's Specifications |
|
Common Fragrance Loads 2-3% |
For Compatible Loads Check the Fragrance IFRA |
| Calculating Fragrance Loads |
|
Simple Estimated Calculation 3% Load
1/4 lb. or 114 grams 114 grams of soap 3% Fragrance Load 114 x 0.03 = 3.42, rounding down = 3 grams
1/2 lb. or 227 grams 227 grams of soap 3% Fragrance Load 227 x 0.03 = 6.81, rounding up = 7 grams
1 lb. or 454 grams 454 grams of soap 3% Fragrance Load 454 x 0.03 = 13.62. rounding up = 14 grams
It is important to note that these are estimated percentages and not a true percent. It is done this way to make calculations fast and simple. Feel free to round up when needed as this gram will help make up the difference or add another gram when it is well suited. If you wish to be more exact in your weights and measurements we recommend to calculate a true percentage instead. |
True Percentage Calculation 3% Load
Using the equation: FOLoad(Base+X)=X
For the most part there isn't too much of a difference between both methods of calculation especially when getting into higher batch numbers. When calculating for true percent and For simplification, when calculating 3%, just multiply the base amount by 0.03 and divide this amount by 0.97. This equation is shown as is so that it may be changed and further worked with for different load amounts. Likewise when calculating 2%, just multiply the base by 0.02 and divide this amount by 0.98. Both of the numbers used for multiplication and division to the amount of base should always equal 1 or 100% |
|
1011 E. Route 66 |

